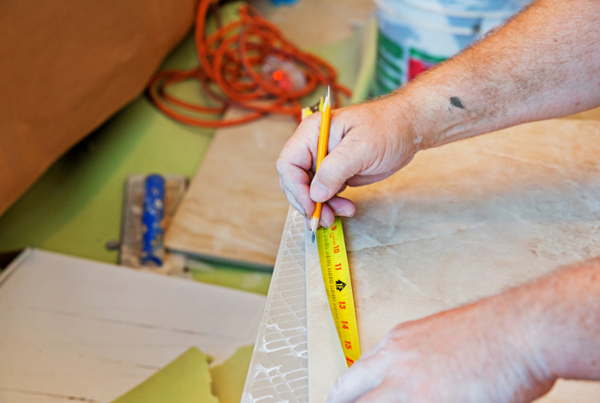
How to measure the area for tiling
Jul 02, 2022
The first step to ordering tiles is figuring out the quantity of tiles you actually need. And there is only one way to know this:
Measurement!
Measuring stuff may not really fun, but it is essential.
Without good measurements, you will end up with either a surplus of materials or you might not have enough tiles. This might cause your project to be held up until new tiles arrive which will cost you money.
Therefore, good and precise measurement actually helps you in saving money.
In this article, we will discuss how to measure all your surfaces (even those weird-looking ones).
First Step - Break down your area
Measuring rectangular shapes is very easy. What confuses most people is seeing a shape with lots of edges.
To solve this issue, we need to break the area into smaller shapes. This would make it easier to actually measure the area.

For example, If you have the above area, you can break it into two smaller rectangles.
Second Step - Measure the lengths and widths
Now that you have smaller shapes, you can measure the width and length of your area.
Multiply the length and width to find the area of each rectangle separately.
Third - Multiply your measurements
Add up all the areas to get the full area.
This is fairly easy, just make sure your measurements are correct and there should be no problem.
How to measure the area of a triangle
You might have an area that can’t be divided into smaller rectangles and you need to measure the area of a triangle as well.
Here is how to measure the area of a triangle.
Measure the height, times by the base and divide that by 2
Height x Base / 2 = area of a triangle

Lastly, don't forget this rule of thumb: always add a 10% - 15% extra tiles than your measurement. This is to cover any wastage during installation and to cover corner shapes.


